An Honest Guide to Image to Video AI: What I Learned After Weeks of Trial and Error
When I first tried an Image to Video AI tool, I expected magic. Upload a photo, click a button, and watch it transform into a cinematic masterpiece. That’s not quite what happened. Instead, I spent my first few sessions confused by vague prompts, disappointed by unexpected results, and wondering if I was doing something fundamentally wrong.
This article isn’t about selling you on a tool. It’s about sharing what I actually learned during those early weeks—the mistakes, the adjustments, and the gradual shift in how I approached AI-assisted video creation. If you’re just starting out with Image to Video technology, this might save you some frustration.
The Gap Between Expectation and Reality
Most beginners approach Image to Video AI with assumptions shaped by polished demo videos and marketing materials. The reality is messier. Your first outputs probably won’t match what you imagined, and that’s normal.
Here’s what I didn’t understand initially: these tools interpret your instructions literally, but not always predictably. When I uploaded a landscape photo and typed “make it dramatic,” the AI had no clear direction. Was I asking for camera movement? Color grading? Weather effects? The vagueness in my prompt created vagueness in the output.
The learning curve isn’t about mastering complex software. It’s about understanding how to communicate with an AI system that processes language differently than a human editor would.
What Actually Happens When You Convert a Photo to Video
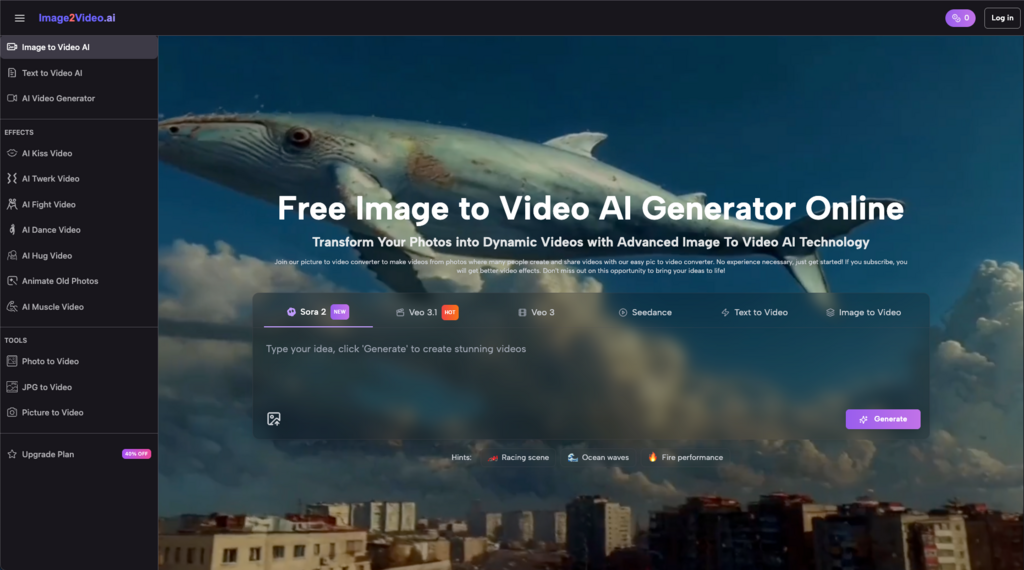
Breaking down the basic workflow helped me set realistic expectations. Most Image to Video AI platforms follow a similar pattern:
- Upload your image (typically JPEG or PNG)
- Write a text prompt describing what you want
- Wait for processing (often around 5 minutes)
- Review and download your result
Sounds simple. But each step has hidden nuances that affect your output quality.
The Image Selection Problem
Not every photo works equally well. I learned this the hard way after uploading a busy group shot and expecting smooth animation. The AI struggled to determine what should move and what should stay still.
Photos that worked better for me:
- Clear subjects with defined edges
- Simple backgrounds or obvious focal points
- Good lighting and contrast
- Images where the “story” was already somewhat implied
A portrait with space around the subject gave the AI room to create camera movement. A cluttered scene with multiple competing elements often produced chaotic results.
Writing Prompts That Actually Work
This was my biggest adjustment. Early on, I wrote prompts like “make this photo into a cool video” and wondered why the results felt random.
What helped:
- Being specific about motion type (zoom in, pan left, slow rotation)
- Describing the mood or atmosphere you want
- Mentioning what should move versus what should remain static
- Keeping instructions focused rather than piling on requests
Instead of “make it dramatic,” I started writing things like “slow zoom toward the subject’s face with subtle light flickering.” The outputs became more predictable—not perfect, but closer to my intention.
Common Mistakes I Made (So You Don’t Have To)
Mistake 1: Expecting Professional Results Immediately
Image to Video AI produces short clips, typically around five seconds. These aren’t replacements for professionally shot footage. They’re tools for creating specific types of content: social media posts, quick animations, visual accents for longer projects.
Once I stopped expecting broadcast-quality commercials and started thinking in terms of “enhanced photos with movement,” my satisfaction increased dramatically.
Mistake 2: Ignoring the Prompt Entirely
Some platforms let you skip the text description. I tried this a few times, assuming the AI would figure out what looked good. It didn’t. Without guidance, the tool made arbitrary choices that rarely matched what I wanted.
Even a basic prompt like “gentle zoom out” produces more usable results than leaving the AI to guess.
Mistake 3: Uploading Without Thinking About End Use
Where will this video actually go? Instagram Stories have different requirements than YouTube thumbnails or email marketing. I wasted time creating clips that didn’t fit the platforms I needed them for.
Now I consider aspect ratio, duration, and context before I even upload the source image.
Image to Video AI vs. Traditional Video Production: A Realistic Comparison
| Aspect | Traditional Production | Image to Video AI |
| Time investment | Hours to days | Minutes |
| Skill required | Significant | Minimal |
| Equipment needed | Camera, lighting, editing software | Just a photo |
| Output length | Unlimited | Short clips (typically 5 seconds) |
| Creative control | Complete | Guided by prompts |
| Consistency | High with experience | Variable |
Neither approach is universally better. AI-generated photo to video content fills a specific niche: quick, low-cost visual content that adds motion to static images. It doesn’t replace traditional video production for complex projects, but it does make certain tasks dramatically faster.
For social media managers posting daily content, the efficiency gain is substantial. For filmmakers creating narrative work, it’s a supplementary tool at best.
Practical Tips for Your First Week
If you’re just starting with Image to Video AI, here’s what I wish someone had told me:
- Start with simple images. A single subject against a clean background teaches you how the tool behaves before you tackle complex scenes.
- Experiment with prompt variations. Try the same image with different descriptions. You’ll quickly learn which words produce which effects.
- Don’t expect consistency. Running the same prompt twice might produce different results. This is normal with AI generation.
- Save your successful prompts. When something works, document exactly what you typed. Building a personal library of effective prompts saves time later.
- Accept the learning curve. Your tenth attempt will be better than your first. That’s not failure—it’s the process.
The Honest Bottom Line
Image to Video AI isn’t a magic solution that eliminates the need for creative thinking. It’s a tool that requires learning, experimentation, and adjusted expectations. The photo to video technology works best when you understand its limitations and design your workflow around them.
For beginners willing to invest a few hours in trial and error, the payoff is real: faster content creation, new creative possibilities, and a practical skill that keeps improving with use. Just don’t expect perfection on day one. I certainly didn’t get it, and the gradual improvement was actually part of what made the learning process worthwhile.